
Quick Start
This guide helps you connect Ardot Remote MCP in a common AI agent. After setup, you can read and write design files through conversation.
Any MCP-compatible agent works. The steps below use WorkBuddy as an example; full steps for CodeBuddy Code, Cursor, Claude Code, Codex, and others are in Remote MCP.
Before you start
- WorkBuddy is installed and you are signed in.
- Your network can reach ardot.tencent.com and related services.
Configure MCP
Paste the following prompt into your AI agent chat so the agent can write the MCP configuration for you (works with any AI agent):
Help me configure Ardot Remote MCP: server name ardot-remote, type http, URL https://ardot.tencent.com/mcp. After configuration, if trust or OAuth authorization is required, prompt me to complete it using the flow for my AI agent.If your AI agent cannot update its own config, add the following manually:
{
  "mcpServers": {
    "ardot-remote": {
      "type": "http",
      "url": "https://ardot.tencent.com/mcp"
    }
  }
}
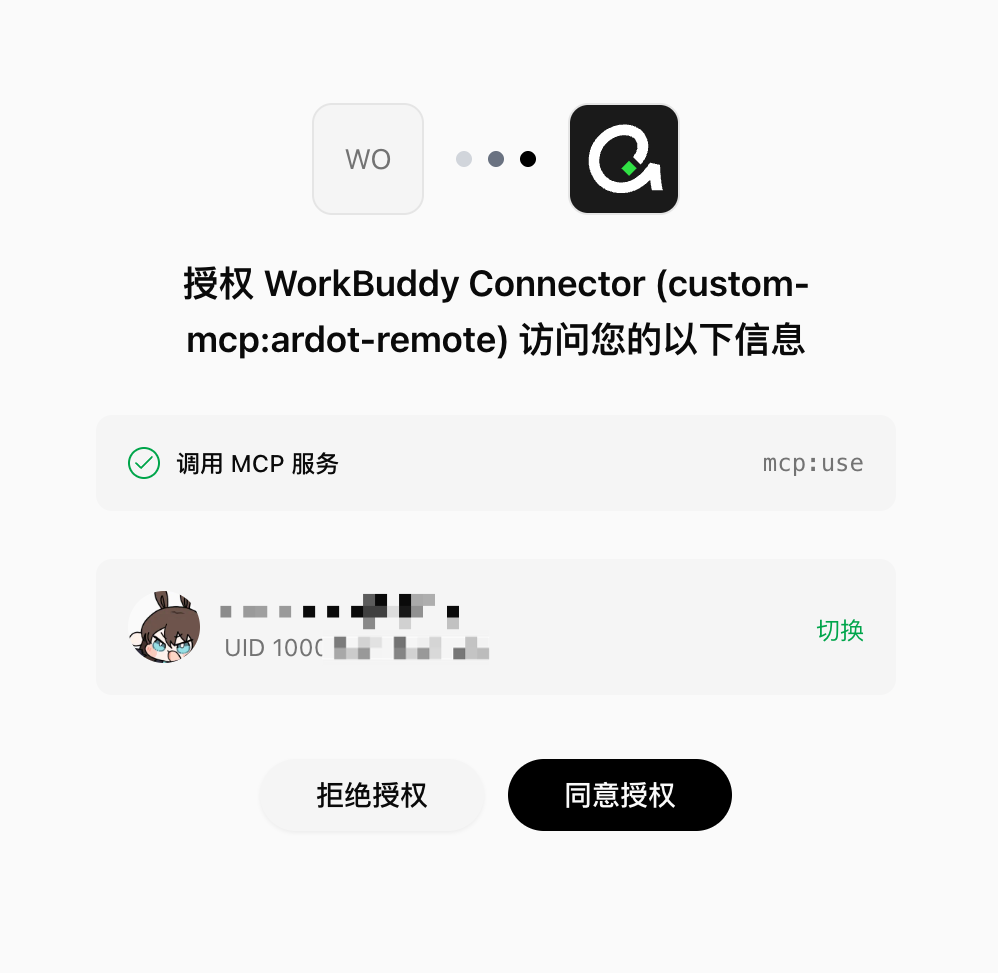
Field names (such as mcpServers and type) follow your AI agent's docs. What matters is the server name ardot-remote and the URL https://ardot.tencent.com/mcp. First-time connections usually require a trust confirmation and OAuth authorization.
TIP
These steps configure Ardot Remote MCP. You can also use Desktop MCP. For the differences, see Installation.
Start using it
After the configuration takes effect and authorization is complete, start a new chat and enter:
Using the ardot-remote MCP, create a design fileIf the agent successfully creates a file, Remote MCP is connected. You can then try reading and writing the canvas, exporting assets, and more.
Next steps
- Installation — Configure MCP access
- Troubleshooting — When you can't connect or designs don't render