

Managing Common Values with Variables
Colors, spacing, text — values that appear repeatedly throughout your designs. Entering them manually every time is tedious, and modifying them is even worse. One color value changed across hundreds of layers? Variables solve this problem.
What Variables Can Do for You
Here are some scenarios:
Your design repeatedly uses a primary color #006Cff. When changing the product's color scheme, instead of modifying each layer individually, change the variable value once and everything updates.
You want to create both light and dark versions of your design. The same text should be black in light mode and white in dark mode. Bind a variable, and switching modes swaps the entire palette.
Your spacing system has the standard values 8, 16, 24, 32. Make them into variables, bind them to auto-layout spacing, and everyone on your team uses consistent spacing.
You're designing a multilingual layout and want to see how things look in Chinese versus English. Make text into string variables, and switching variables switches the language.
Simply put, variables help you centrally manage values that frequently change — modify once, take effect everywhere.
Four Types of Variables
Ardot supports four variable types corresponding to different properties.
| Type | Value | Use Cases |
|---|---|---|
| Color Variable | Color value (with opacity) | Fill, stroke, effect colors, gradient stops, other color variables |
| Number Variable | Number (supports decimals) | Size, corner radius, spacing, font size, line height, opacity, stroke width, etc. |
| String Variable | Text | Text content, font name, font weight, etc. |
| Boolean Variable | True or False | Layer visibility, component boolean properties |
Where to Manage Variables
Variables are managed in a dedicated Variable Manager dialog. To open it:
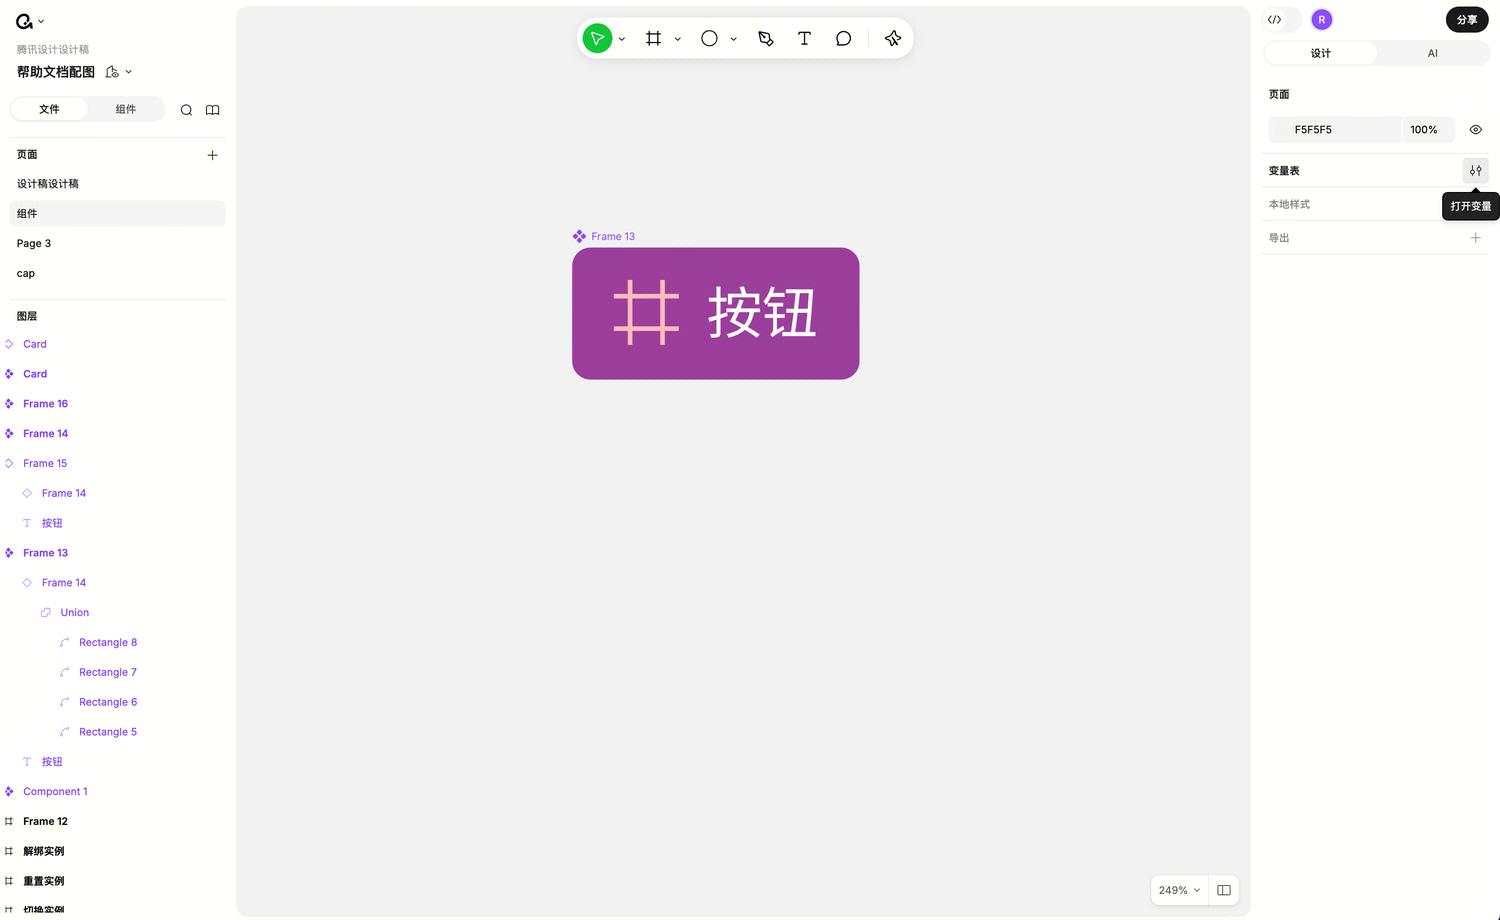
- Press
Escon the canvas or click blank canvas to ensure no layers are selected - In the right panel, find Local Variables and click to open
The dialog has a collection list on the left, variable content in the middle, and a properties panel on the right — similar to the editor layout.
Dialog Size Is Adjustable
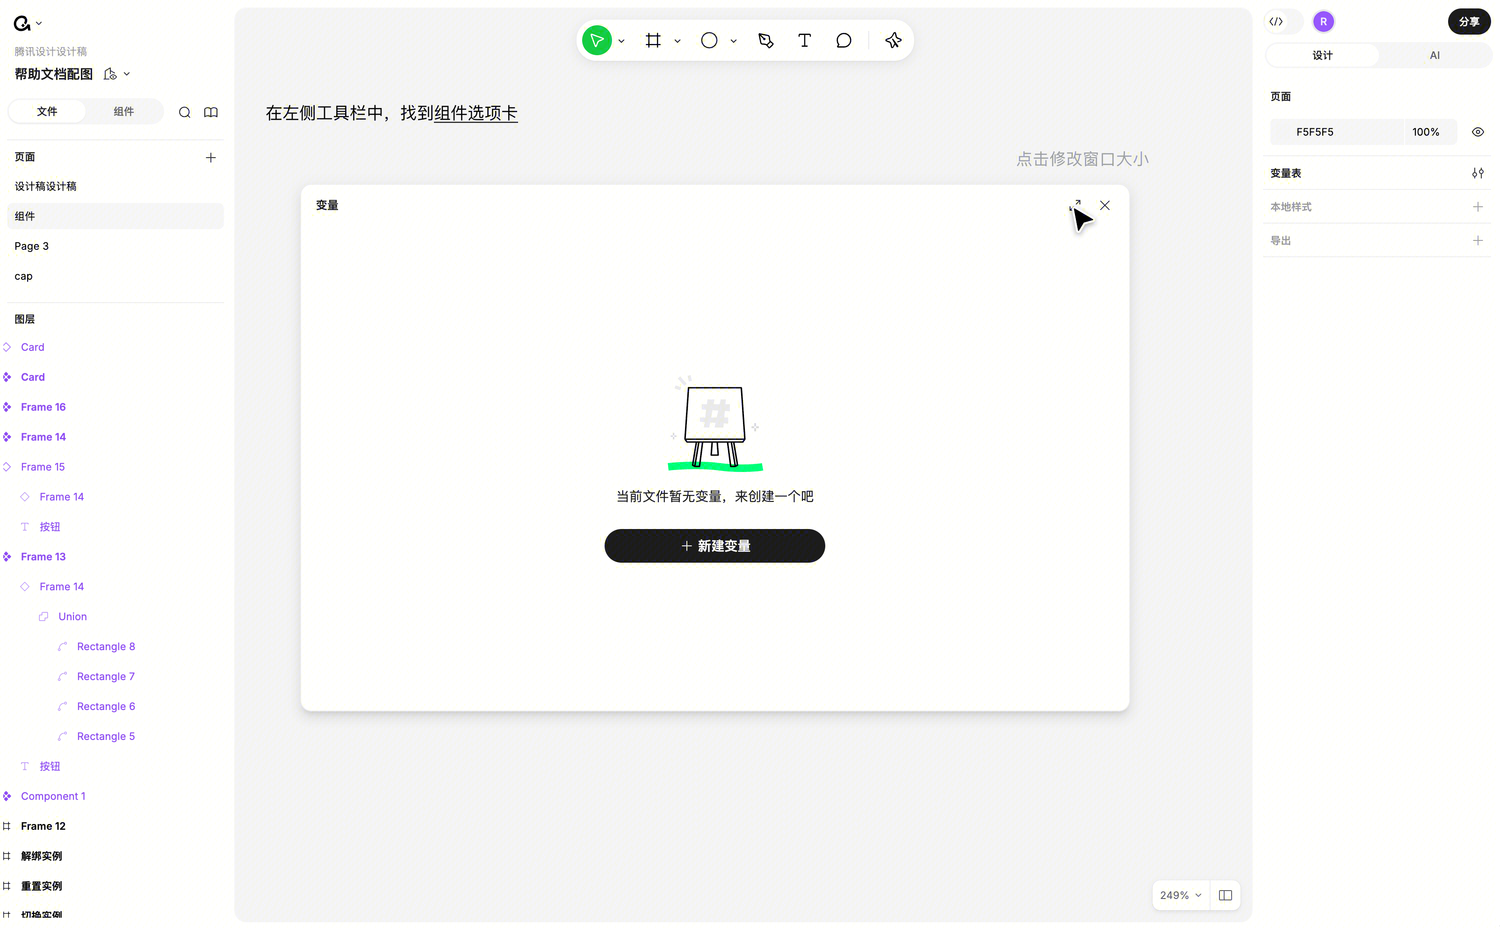
The top-right corner has a resize button to shrink the dialog, so you can view variables while working on the canvas.
In small size mode, drag the bottom-right corner to change size, hold the title bar to drag position, and the right details panel becomes a popover.
Creating Variables
First-Time Creation
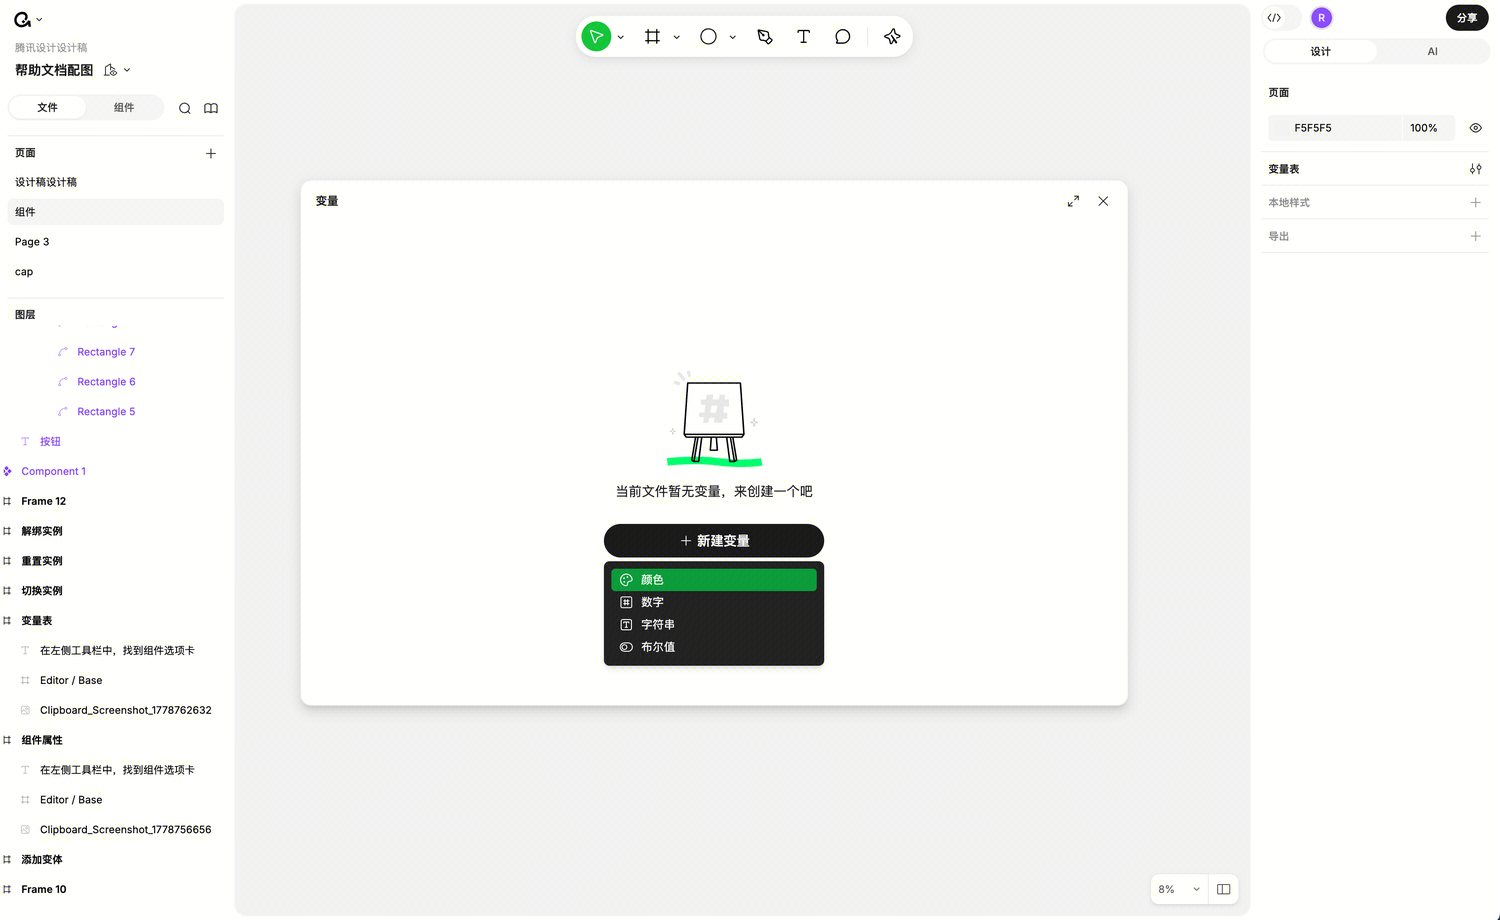
When the variable manager is empty, click the New Variable button and select a type from the dropdown.
After selecting a type, Ardot automatically creates a default variable collection and adds a variable. The name input field activates automatically — just type the name you want.
Default values:
| Type | Default Value |
|---|---|
| Color | #FFFFFF (white) |
| Number | 0 |
| String | Enter text |
| Boolean | False |
No Duplicate Names in the Same Collection
Within the same variable collection, variable names must be unique. If you try to create a duplicate name, it will be rejected with a message saying a variable with the same name already exists in this collection.
Editing Variables
Renaming
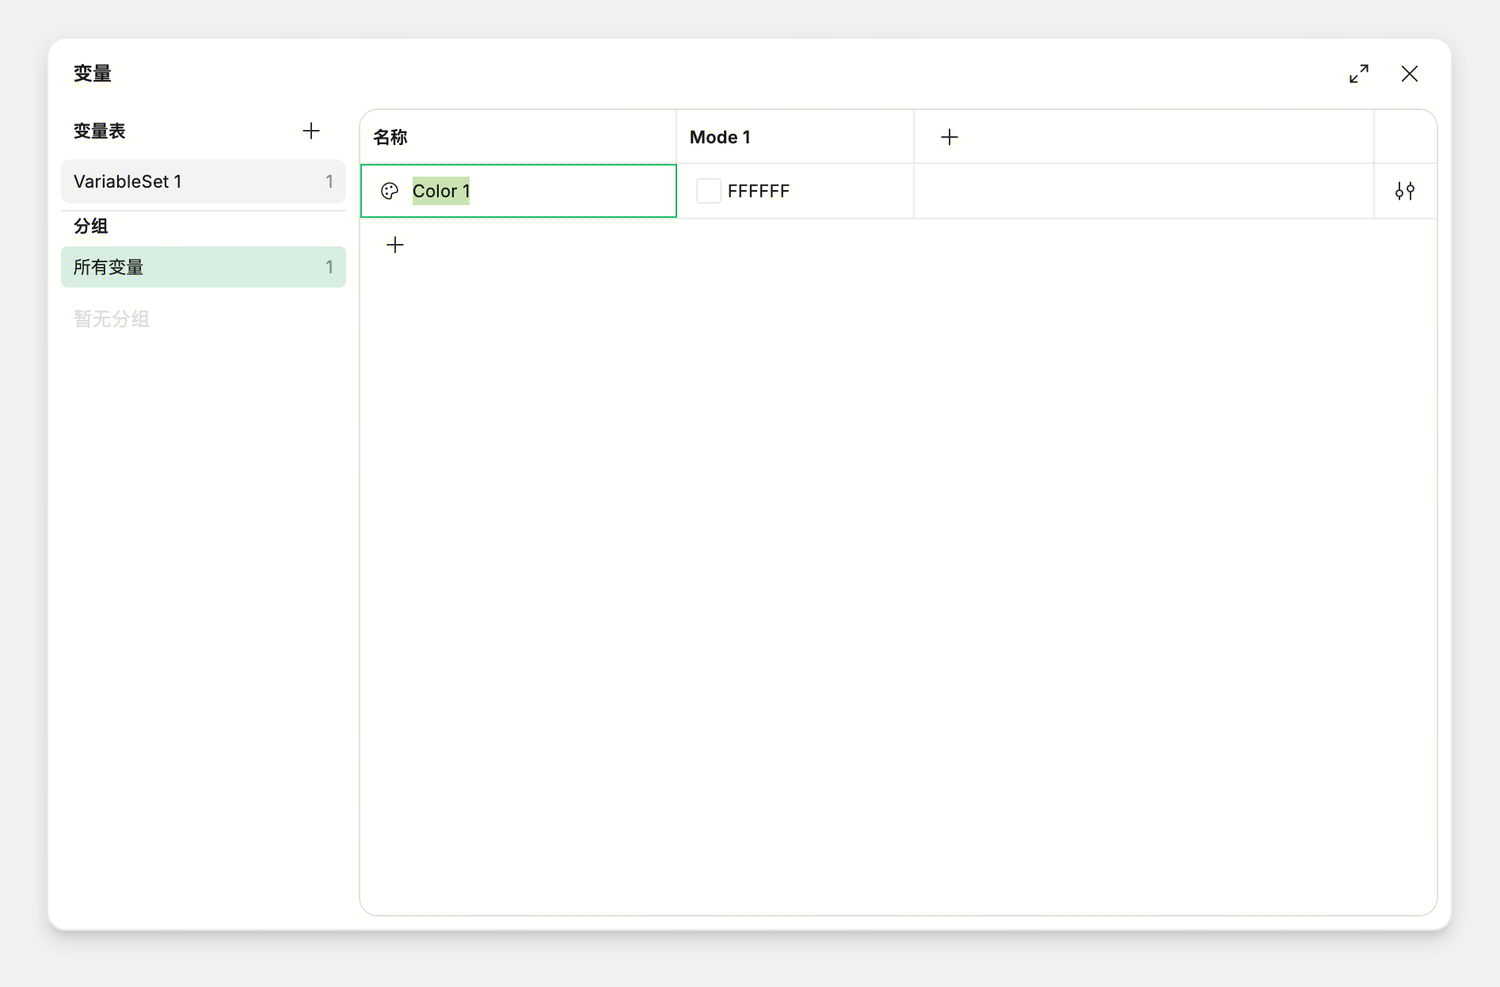
Double-click the variable name cell to enter edit mode, then press Enter to save.
Changing Values
Each type has a slightly different editing method.
Color Variables
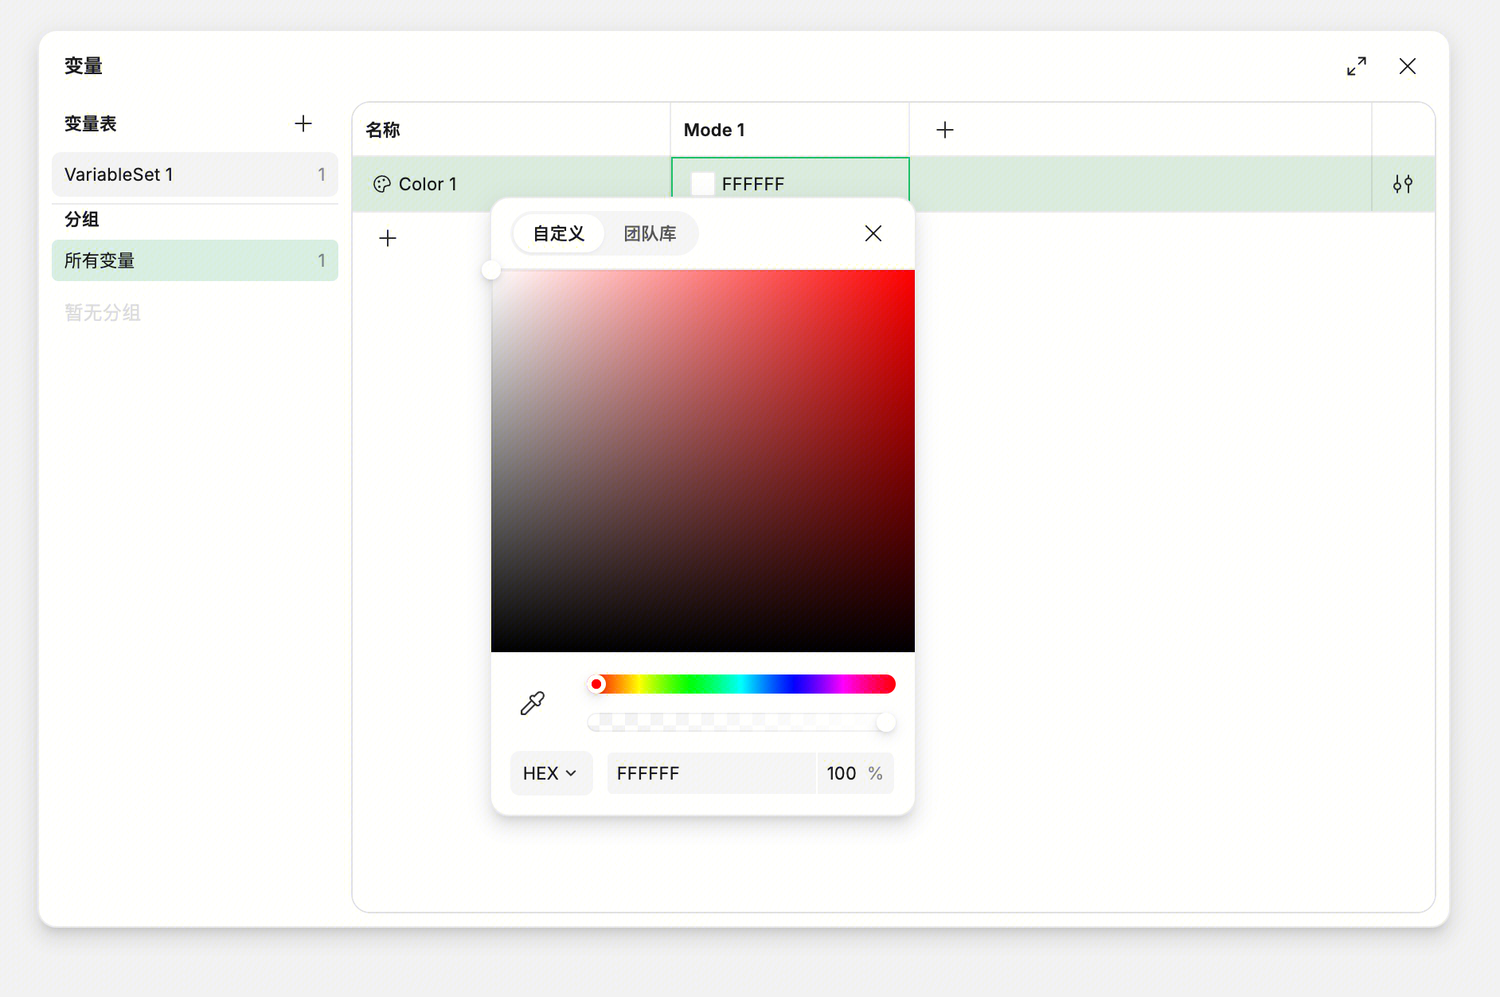
Click the hex input field to type directly (e.g., 0052D9). You can also click the color icon on the left to open the color picker. Or choose to reference another color variable as the value (see Variable Aliases below).
If a color variable's opacity is 100%, Ardot hides it by default. Adjust in the color picker. If there's transparency, it displays directly on the variable row for quick modification.
Number Variables
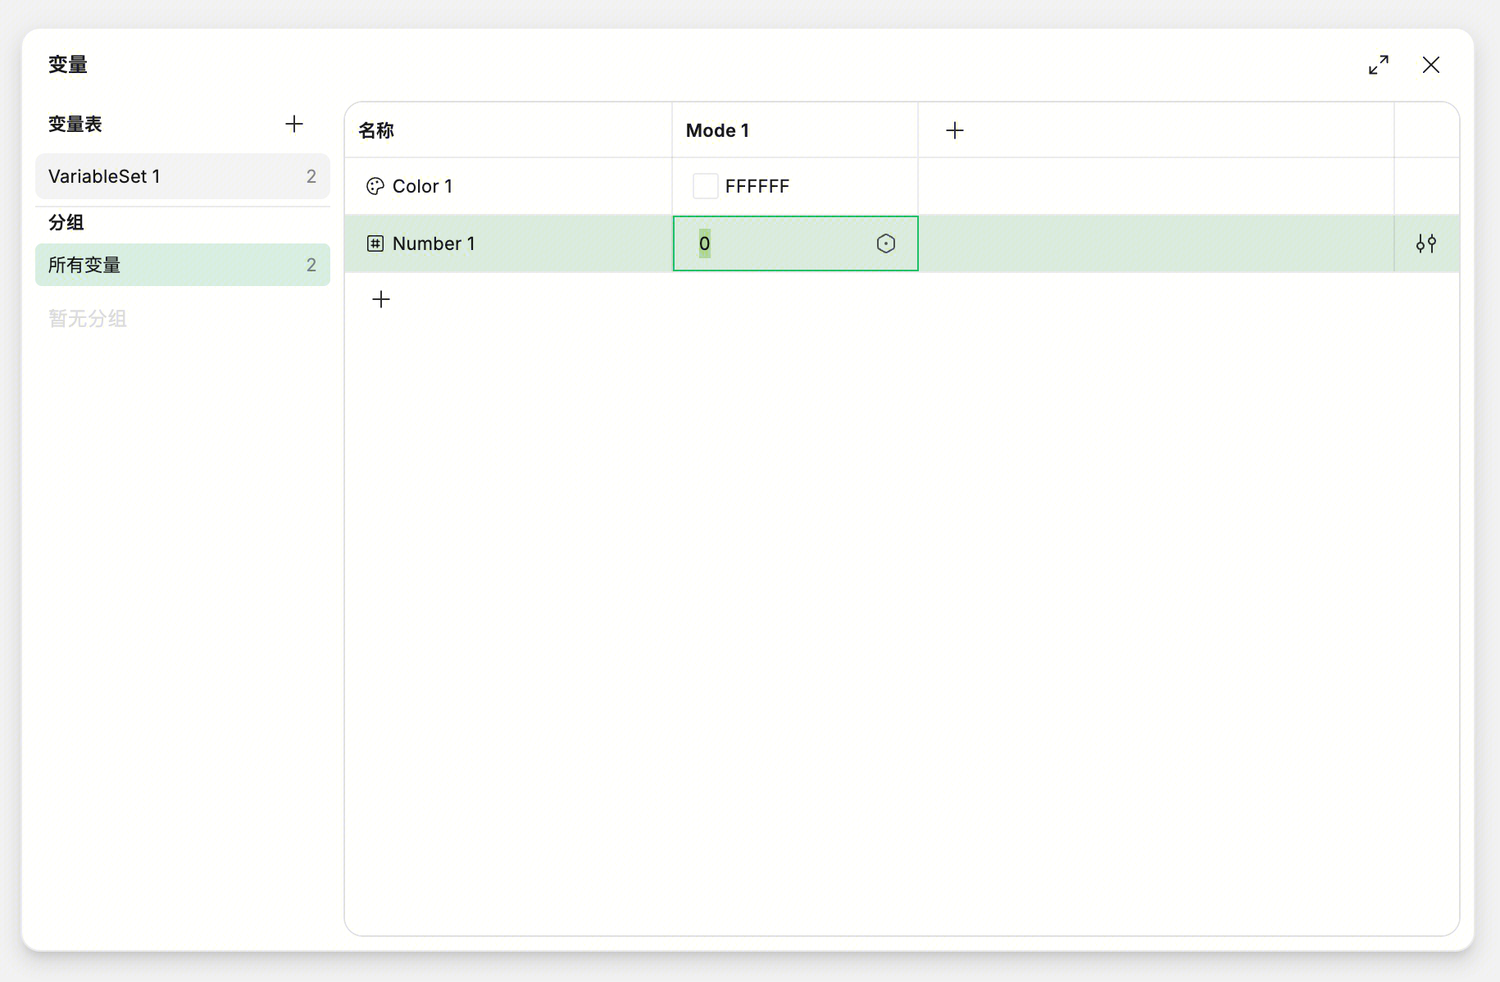
Enter in the number field.
String Variables
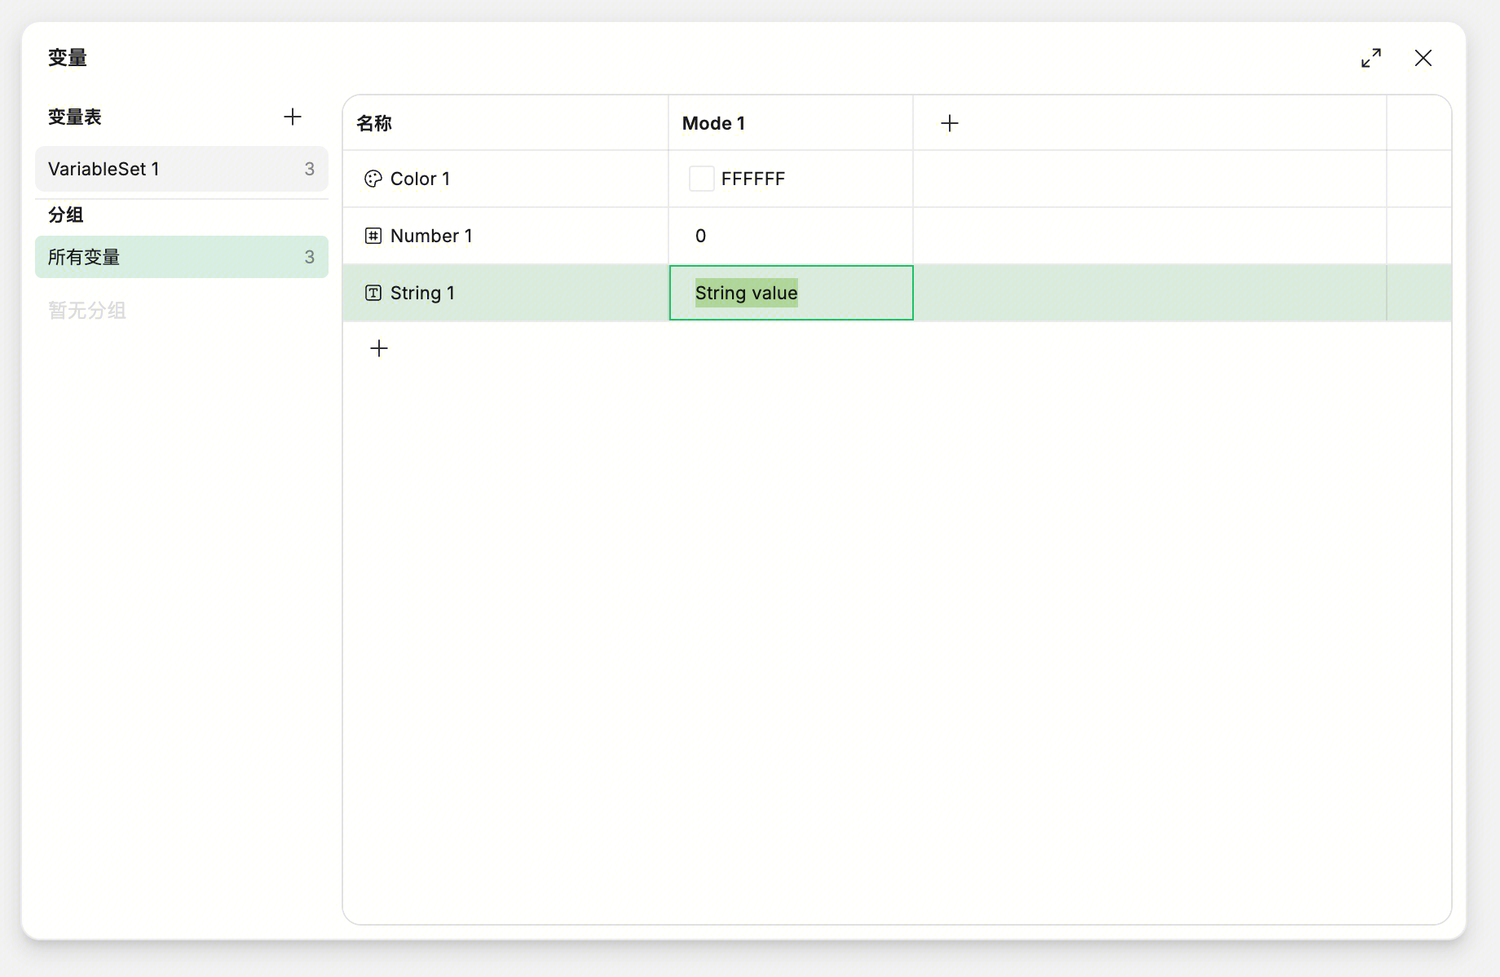
Type directly in the text field.
Boolean Variables
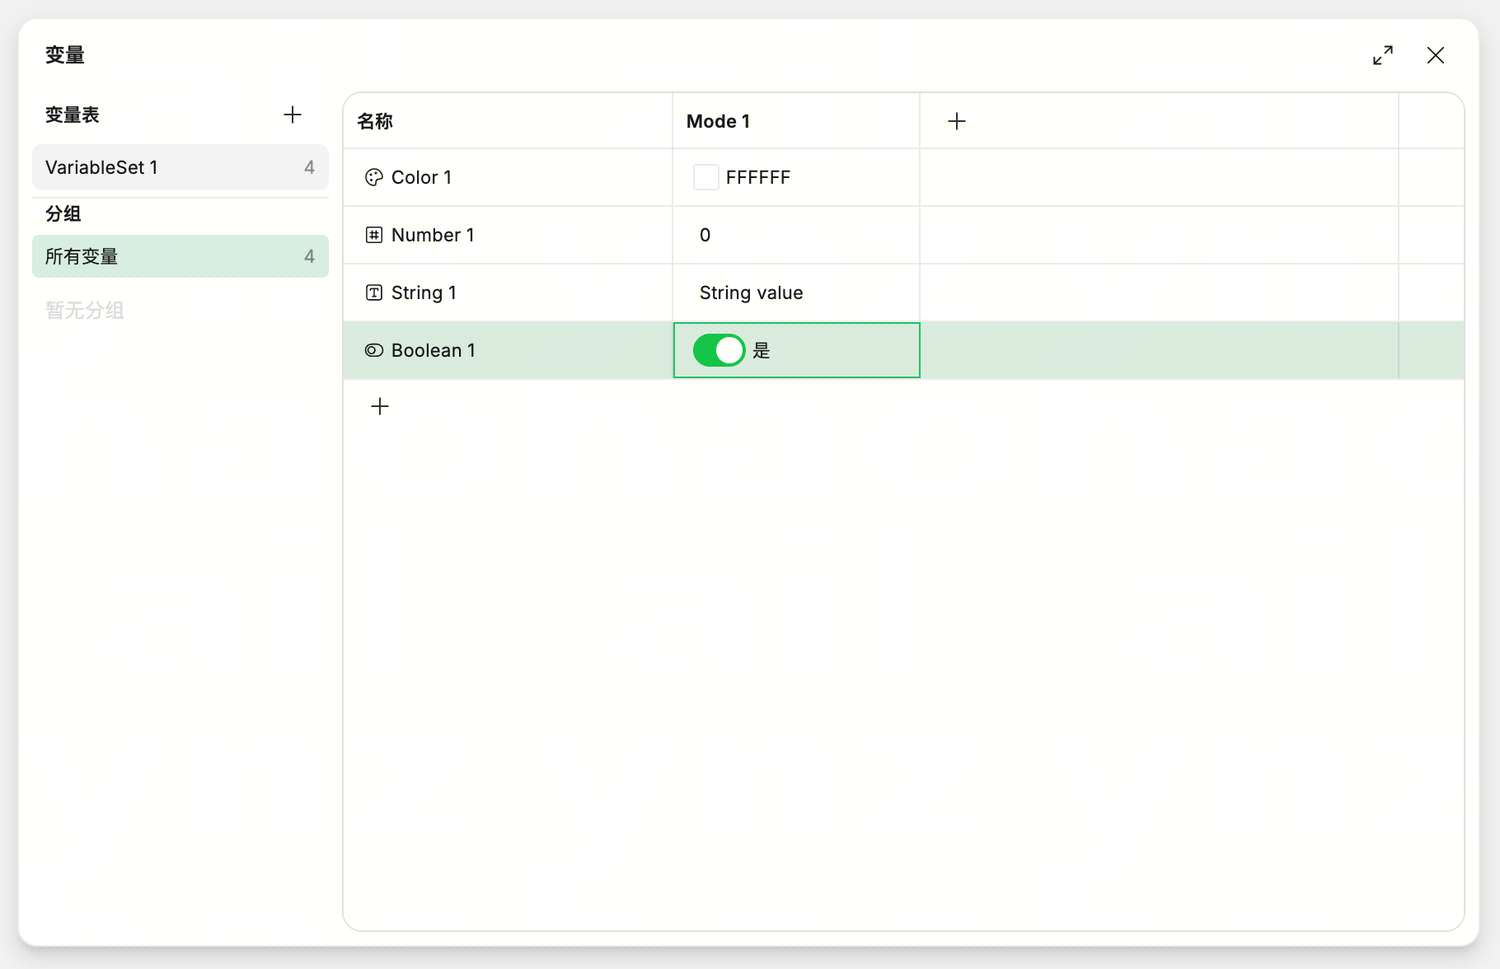
Click boolean variables to toggle between true and false.
Reordering
Drag variable rows to sort — supports multi-select drag. Hold Command for individual selection, or Shift for range selection, then drag together.
Ordering affects the variable list order shown in property panels later. Put frequently-used variables first.
Deleting
Select one or more variables, right-click to delete, or use the keyboard Delete key.
After deleting a variable, properties bound to it will show a grayed-out variable tag indicating the property was bound to a variable that no longer exists. You can re-select another variable or unbind to use a static value.
Deletion can be undone via Command+Z.
Grouping Variables
When you have many variables, grouping keeps management clear. Ardot provides two grouping methods.
Method 1: Grouping via / Naming
Use / as separators in names, like this:
Color/Brand/Primary
Color/Brand/Secondary
Color/Neutral/Gray-1
The variable manager will automatically organize them into corresponding groups.
Method 2: Right-Click to Create Group
Select one or more variables, right-click, select New Group, and enter a group name. Consistent with style management.
Group Operations
Rename group: Double-click the group name, or right-click on the group in the left tree and select Rename.
Ungroup: Right-click on the group in the left tree, select Ungroup.
Delete group: Right-click on the group in the left tree, select Delete Group — this deletes all variables within.
Sorting rule: ungrouped variables are at the top, followed by grouped sections.
Variable Aliases
A variable can use another variable as its value. For example:
Base Colors/blue-500 = #0052D9
Semantic Colors/Primary = references Base Colors/blue-500
When you modify blue-500, Primary automatically follows. This is how aliases work — especially suited for a two-tier structure from color palette to semantics.
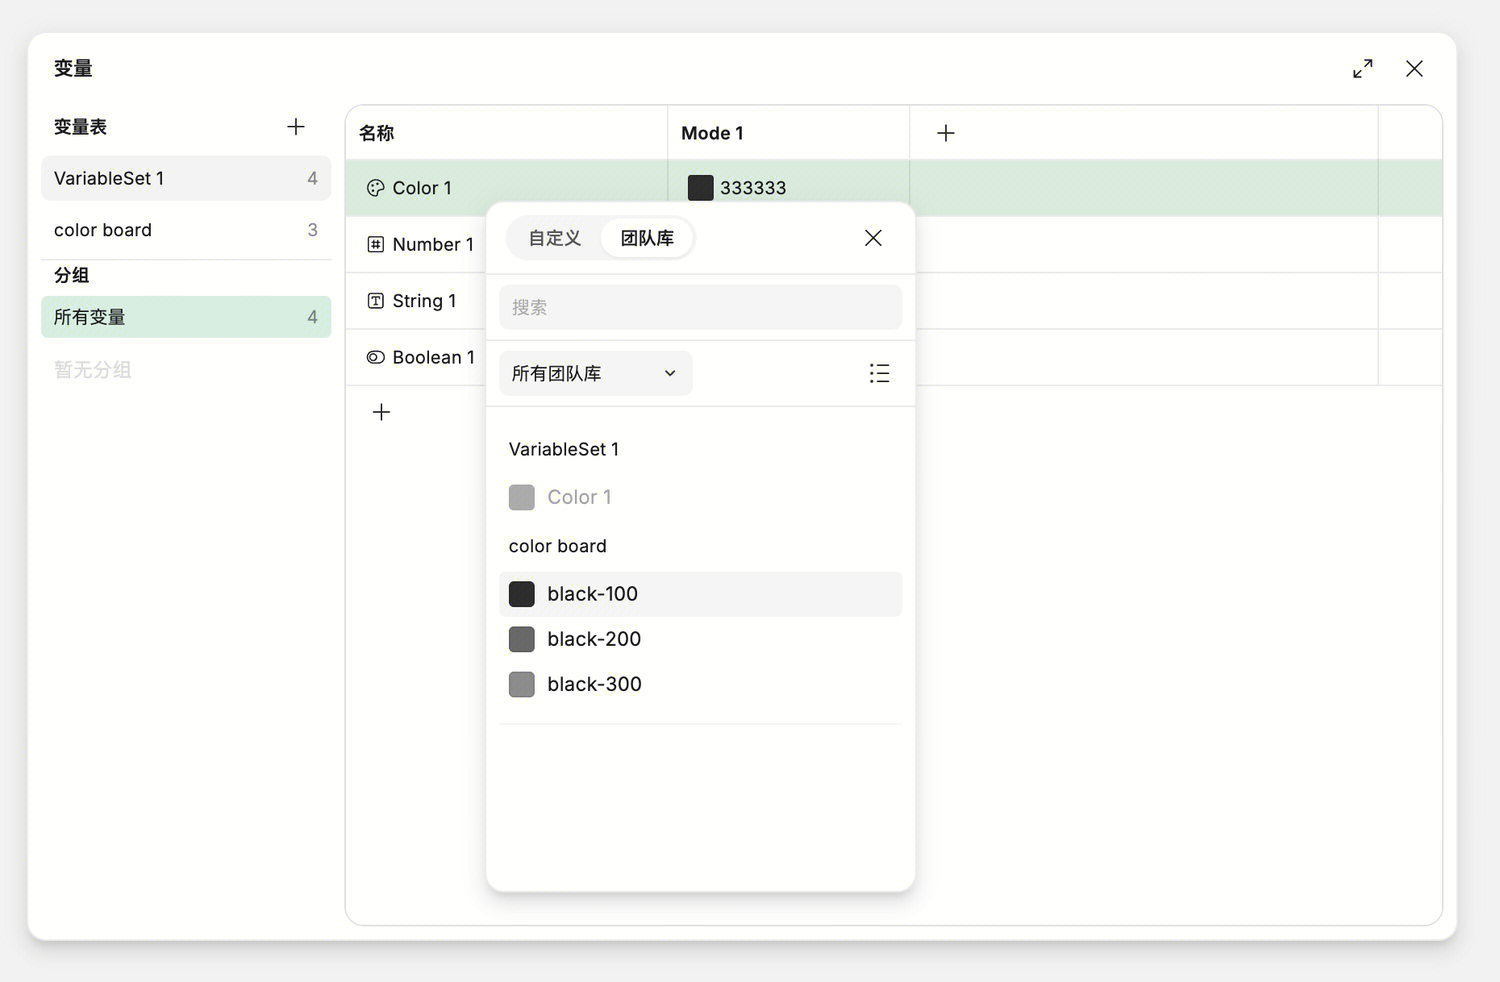
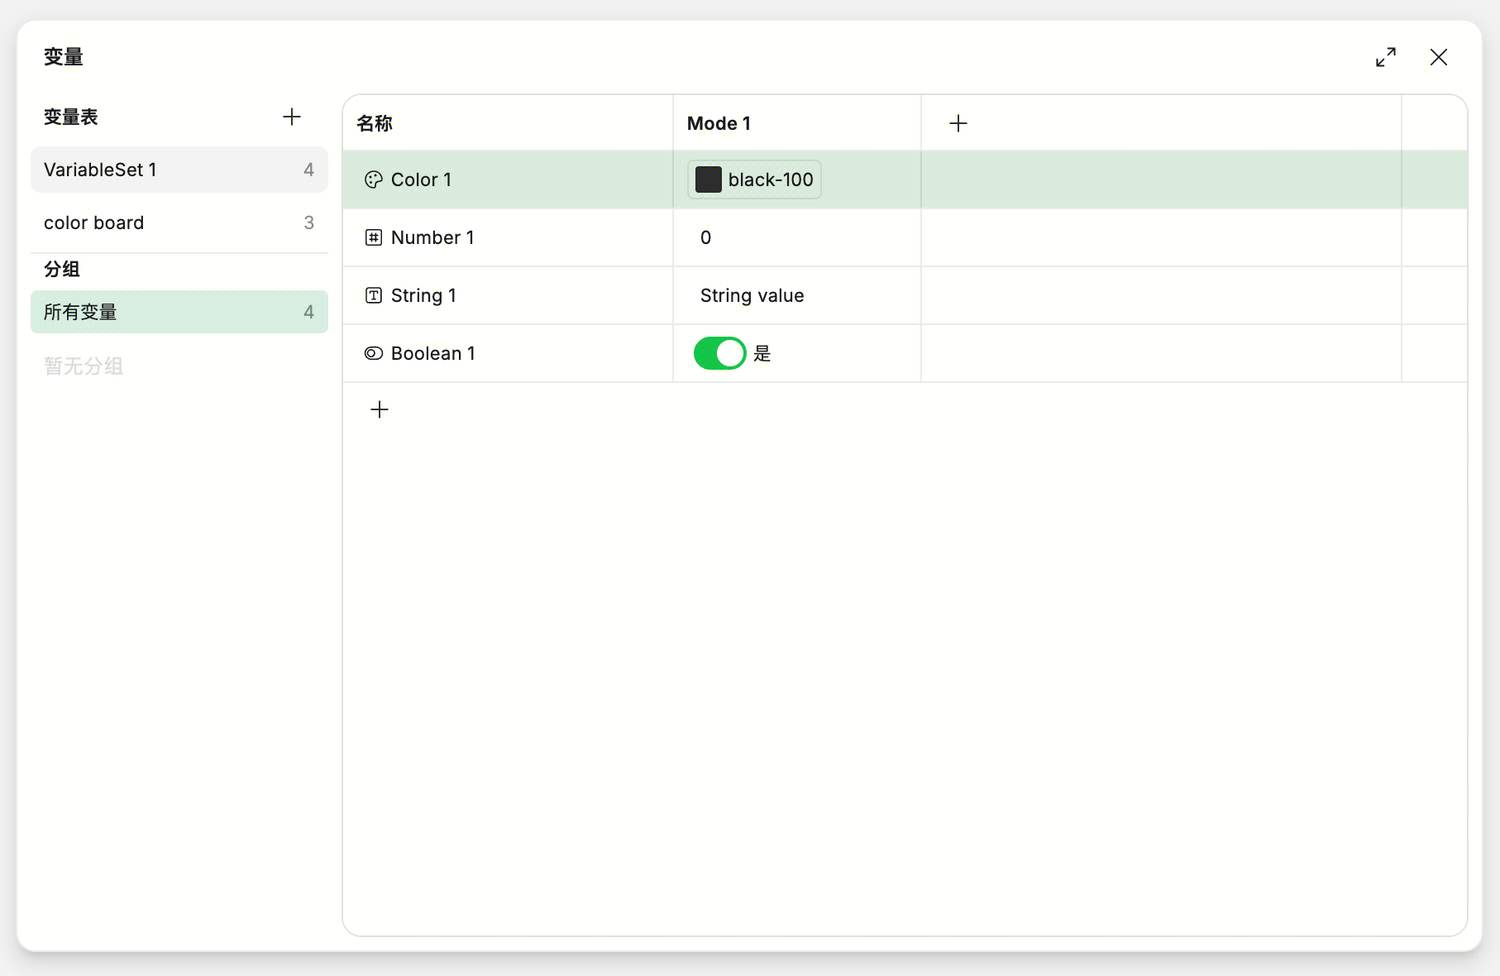
When editing a variable value (e.g., clicking the color picker), switch to the Variables tab and select a same-type variable from the list.
Modify: Click an already-referenced variable and reselect another.
Unbind: Hover over the right side of the variable row — an unbind button appears. Click to remove the reference and revert to a static value.
No Circular References
If you try to create A references B, B references A — a circular reference error will be reported.
Organizing Variables with Collections
Variable Collections are containers for variables. A collection can hold many variables, and collections are independent of each other.
When You Need Multiple Collections
By type: color variables in one collection, spacing variables in another.
By theme: base palette in one collection, semantic colors in another.
By platform: iOS in one collection, Android in another.
How to organize depends on your team's design system.
Binding Variables to Designs
After creating variables, how do you apply them to your designs? Click the variable entry point in the property panel.
Variable Entry Points
Any property that supports variables will have a unified variable icon entry point. Specific locations:
| Property | Entry Location |
|---|---|
| Fill color | 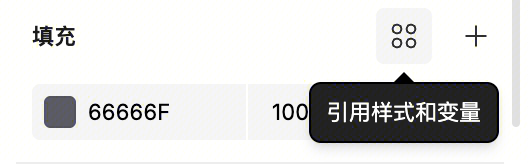 |
| Stroke color | 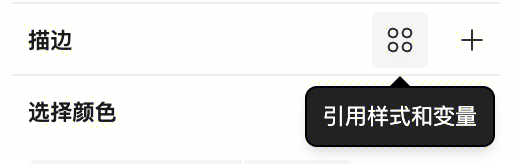 |
| Inside color picker | 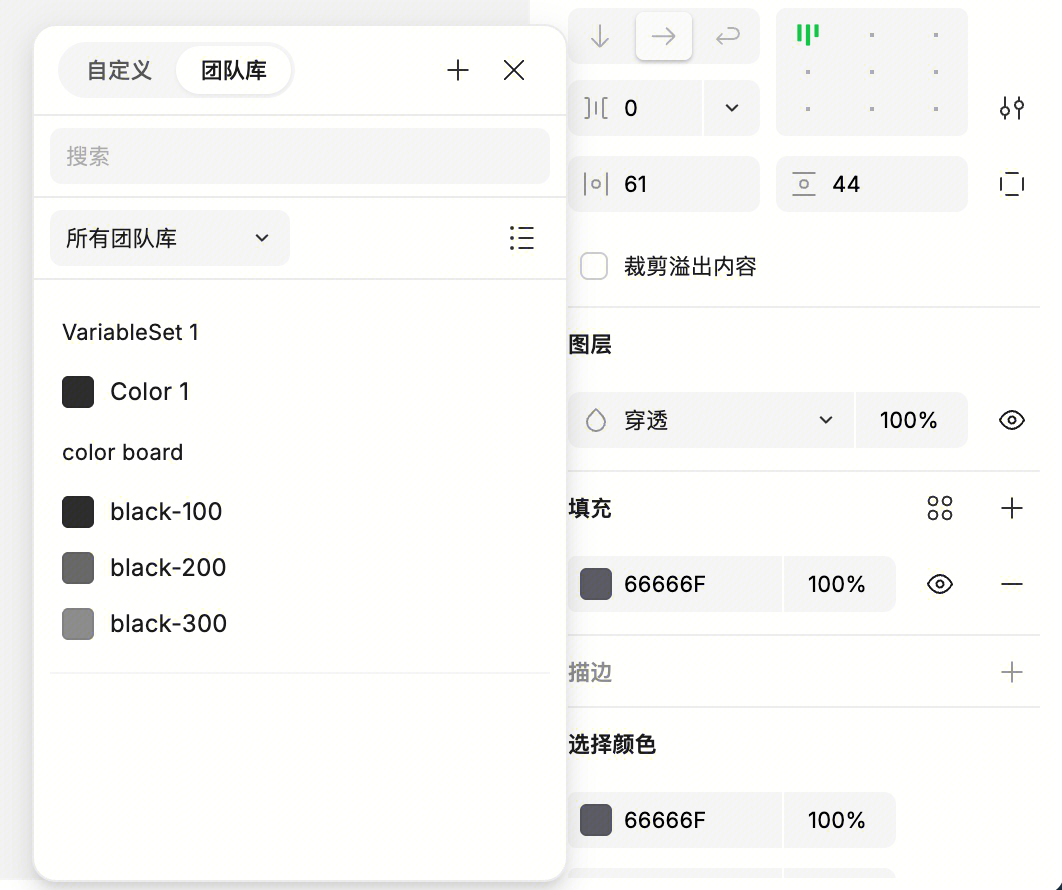 |
| Corner radius, width/height, spacing, padding (shown on hover) | 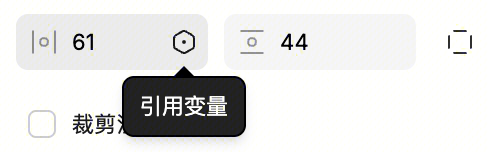 |
| Font size, line height, letter spacing | 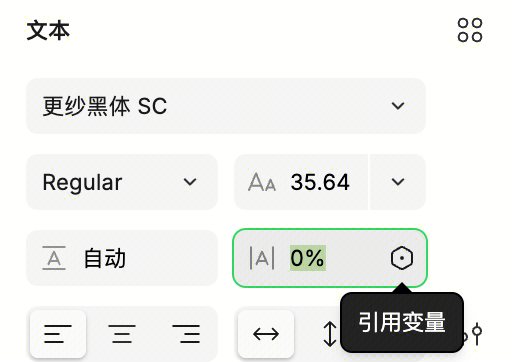 |
| Text content | 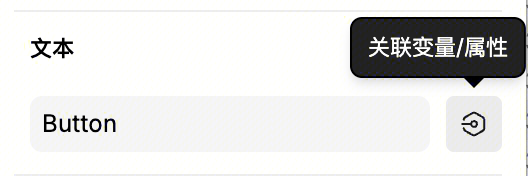 |
| Layer visibility (boolean variable) |  |
How to Bind Variables
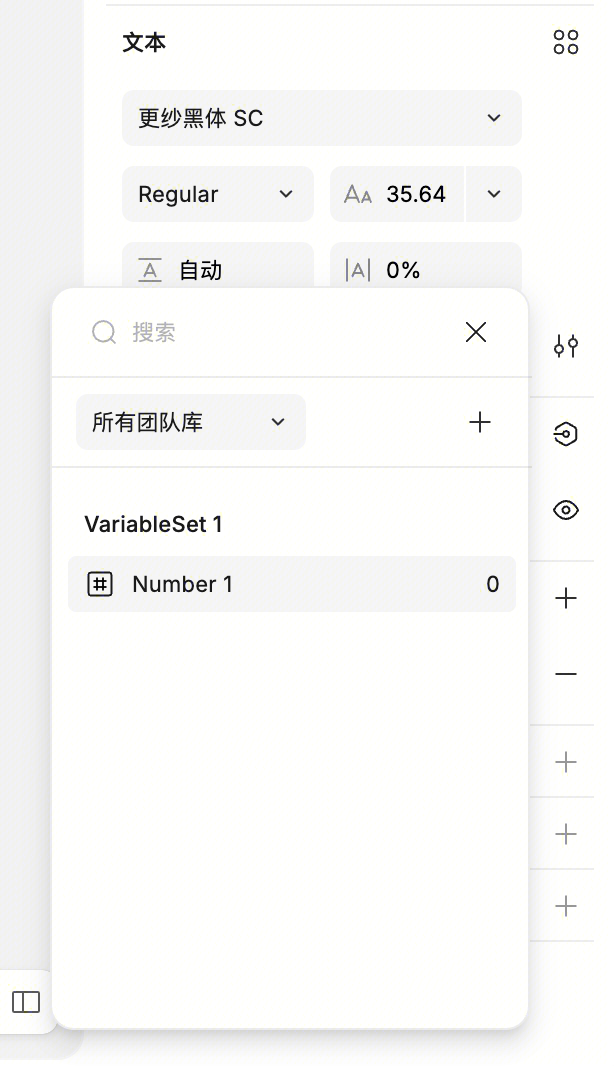
- Click the variable entry point (icon) next to the property
- In the popup style/variable selection list, find the variable you want
- Click to select — binding takes effect
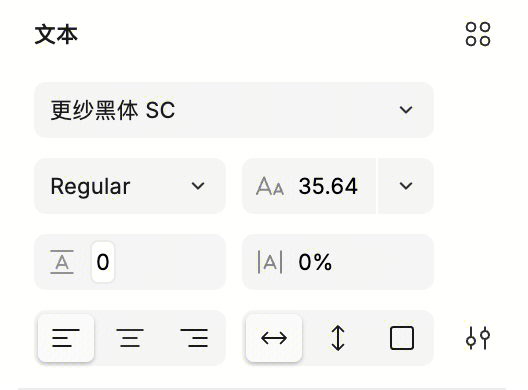
After binding, a variable tag style appears in the property field. For example, a color variable bound to fill shows Brand/Primary as a label.
Batch Binding Variables
If you've selected multiple layers (all supporting the same variable type), you can bind a variable to the same property on all these layers at once.
Unbinding Variables
If you no longer need a property bound to a variable, you can unbind it.
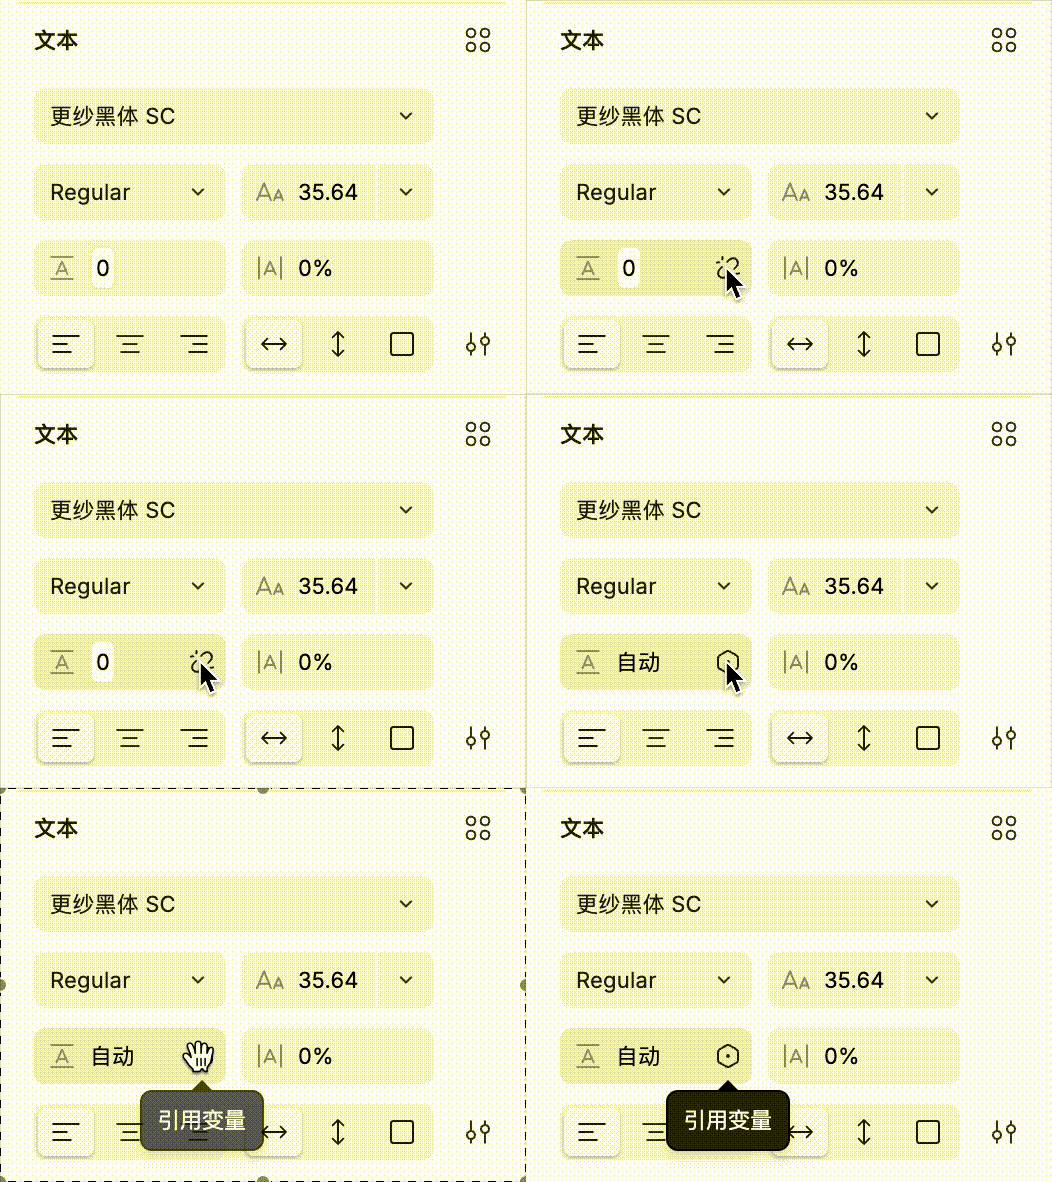
- Hover over the property with the bound variable
- An unbind button appears to the right of the tag
- Click to unbind
After unbinding, the property value retains the variable's current static value — it won't be cleared. For example, if a fill was bound to a #0052D9 variable, after unbinding the fill remains #0052D9 but no longer syncs with the variable.
What Happens When a Variable Is Deleted
If a property's bound variable is deleted, the variable icon changes to a question mark. Hover over the question mark for a tooltip: "Variable has been deleted." Hover over the variable name area to see the current static value. You can click the property to select another variable, or simply unbind.
The property value retains the last value before the variable was deleted — it won't suddenly become empty or default, so your design won't break because a variable was removed.
Advanced Usage
Variables' power comes from two advanced features:
Modes: Let a variable have different values in different contexts, enabling light/dark themes, multi-device adaptation, and more.
Scoping: Restrict variables to only appear where they should, preventing designers from misusing them.
See the next article: [Variables Advanced: Modes and Scoping]